Blogs
How to Install LED Strip Lights Around Corners or Bends: Step-by-Step Guide
LED strip lights are a popular choice for adding flexible, energy-efficient lighting to any space. They’re versatile, easy to install, and can create stunning effects in your home or business. However, when it comes to installing LED strips around corners or bends, many people run into challenges. LED strips typically come in a straight line, but spaces often require lighting that goes around corners or tight angles.
In this blog post, we’ll guide you through the best methods for installing LED strip lights around corners and bends with ease, helping you achieve a professional-looking installation every time.
Why Install LED Strips Around Corners or Bends?
LED strip lights can be installed in a variety of locations, including:
Under kitchen cabinets to illuminate countertops
Behind televisions for ambient backlighting
Along the edges of shelves or architectural features
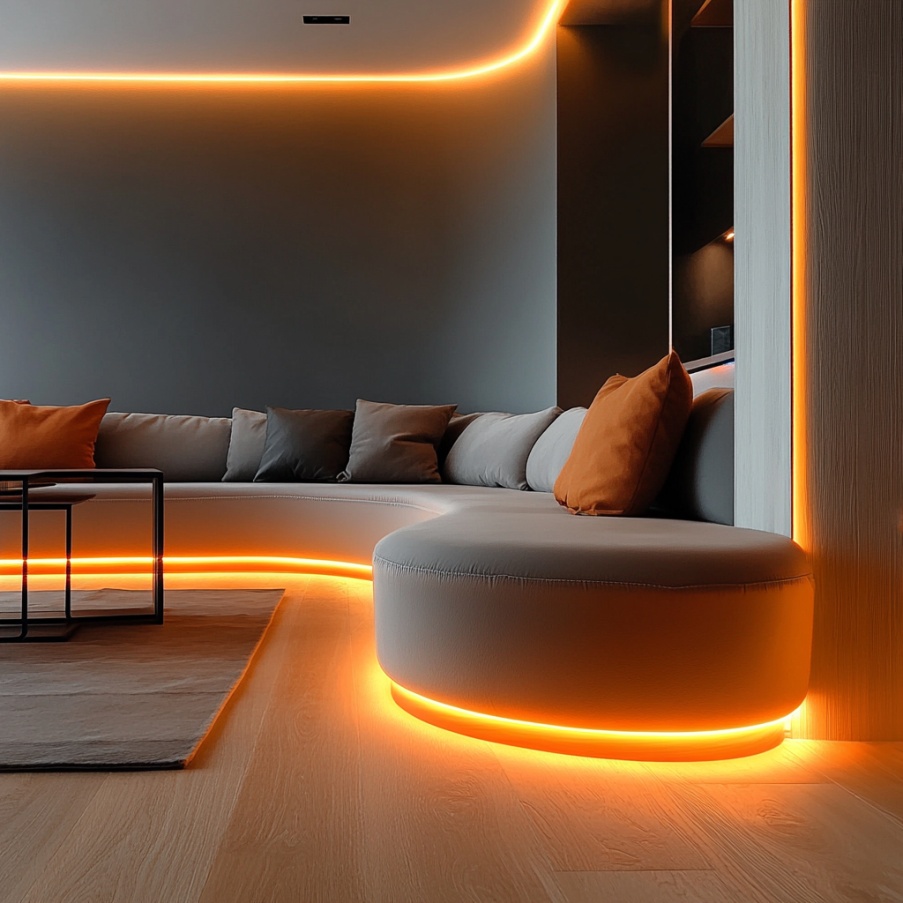
Along the ceiling or baseboards to create a floating or glowing effect
However, when you reach a corner or bend, the LED strip’s rigid nature can create gaps or uneven lighting if not properly handled. Installing LED strips correctly around corners or bends ensures:
Continuous light flow without gaps or dim spots
Smooth transitions between sections
A polished, professional look for your lighting setup

Steps to Install LED Strip Lights Around Corners or Bends
1. Choose the Right LED Strip
Before you start, make sure you're using a high-quality LED strip that’s flexible enough to be bent without damaging the LEDs or the wiring. Many LED strips are designed specifically for corner or bend installations, including:
Flexible LED strips that can bend easily at wide angles
RGB LED strips that can change colors around bends without affecting the light output
If you're using an LED strip that is less flexible, it may need to be cut and connected at specific points to navigate around tight angles. Look for products that advertise easy bending for corners or areas with non-linear paths.
2. Measure and Plan Your Path
Before installing, measure the area where you plan to install your LED strip lights. Planning your installation path ahead of time will ensure that the strips fit correctly and that you minimize any awkward gaps or overlaps.
Use a tape measure to accurately determine the length of the space you’ll be lighting, including corners or bends.
Mark the path with a pencil or tape, especially for corners, so that you know where to place the strips and how they will align.
3. Cut the LED Strip to Fit
Most LED strips are designed to be cut at specific intervals (usually marked with scissors icons on the strip), which makes it easier to customize their length.
Cut the strip at the indicated marks: Cutting at the wrong points can damage the LEDs and wiring.
Make sure you leave enough length to fit around the corner or bend comfortably without forcing the strip.
For sharp corners (90-degree angles), cut the strip into two sections—one for each straight segment. If the bend is more gradual, you may be able to use a longer continuous piece.
4. Use Corner Connectors or Flexible Connectors
When bending or turning LED strips around corners, you have two main options:
Option 1: Use Corner Connectors (L-Shaped Connectors)
Corner connectors are a great solution when installing LED strips around sharp corners. These connectors allow the strip to change direction easily without losing light continuity.
Corner connectors are typically L-shaped and fit snugly around 90-degree turns.
Simply connect the LED strip to each side of the connector—one side will be for the strip that runs along the first wall, and the other side will connect to the second run of the strip.
How to Install Corner Connectors:
Cut the LED strip at the appropriate cutting points.
Attach the ends of the strip to the connector.
Make sure the connectors are properly aligned, and the strips are fully inserted for a secure connection.
Option 2: Use Flexible Connectors (for Gentle Bends)
For more gentle bends or curves, a flexible connector can help guide the LED strip around the corner smoothly.
These connectors are designed to allow the strip to bend gradually along curves, without any hard angles.
Flexible connectors are typically available in multiple sizes and can be adjusted depending on how tight or wide the bend is.
How to Install Flexible Connectors:
Cut the LED strip at the designated cutting points.
Attach the flexible connector to both ends of the LED strip.
Gently bend the connector to navigate around the corner.
Using a combination of corner and flexible connectors ensures smooth transitions for your LED strips without gaps or misalignment.
5. Secure the LED Strip to the Surface
Once the LED strips are cut, connected, and ready for installation, it’s time to secure them in place.
Peel the backing of the adhesive tape on the LED strip and stick it to the surface.
Use clips or mounts for additional support, especially in areas where the strip might be exposed to vibration or movement.
Press gently to ensure the strip is properly attached, especially around corners where the adhesive might not stick as firmly due to bending.
6. Connect the LED Strips to Power
Once your LED strip is installed around the corners and properly secured, connect it to the power supply.
Check the voltage requirements of your LED strip and ensure you have the correct power adapter for the job.
Plug in and test the strips to ensure they light up and transition smoothly around the bends.
If you’re using RGB strips, make sure the controller is also connected properly for color changes and effects.

Troubleshooting Common Issues with LED Strips Around Corners
Flickering or Uneven Lighting: This can happen if the strips are not cut properly or the connectors aren’t securely attached. Double-check all connections and ensure the strips are aligned and fully inserted into connectors.
Adhesive Not Sticking: If the LED strip doesn’t stick well around corners, you can reinforce the bond with stronger adhesive tape or use mounting clips.
Overheated Strips: If your LED strips overheat at the corners, make sure they are not being bent too sharply. Allow enough space for the strip to flex comfortably.
Conclusion: Installing LED Strip Lights Around Corners and Bends Made Easy
Installing LED strip lights around corners and bends is a great way to add seamless, flexible lighting to your space. Whether you’re lighting up a kitchen countertop, creating a modern look in your living room, or adding flair to your staircase, following these steps will help you achieve a professional, smooth installation.
By using corner connectors, flexible connectors, and properly measuring your space, you can ensure that your LED strip lights wrap around corners without any issues. Remember to take your time during the cutting and connecting process to avoid mistakes and get the perfect lighting effect.
With a little planning and the right tools, you can create stunning, continuous LED lighting effects around corners that enhance the aesthetic of any room.
RELATED NEWS
- Are Daylight LEDs Too Bright for a Living Room?Are Daylight LEDs Too Bright for 2025-04-17
- How Do I Choose the Right LED Strip for Under-Cabinet Lighting? 2025-04-17
- Why Do My LED Lights Flicker Even When Using a Dimmer? 2025-04-10
- How Do I Know If My LED Strip Is Getting Enough Power? 2025-04-10
- How Much Energy Can You Save by Switching to LED Lights? 2025-04-03
CATEGORIES
LATEST NEWS
CONTACT US
Contact:
Phone:
E-mail: jessica@ledfocus.cn
Whatsapp:
Add: 983-984, Building B, Qinghu Industrial Park, Qingxiang Road, Qinghu Community, Longhua Street, Longhua District, Shenzhen, China